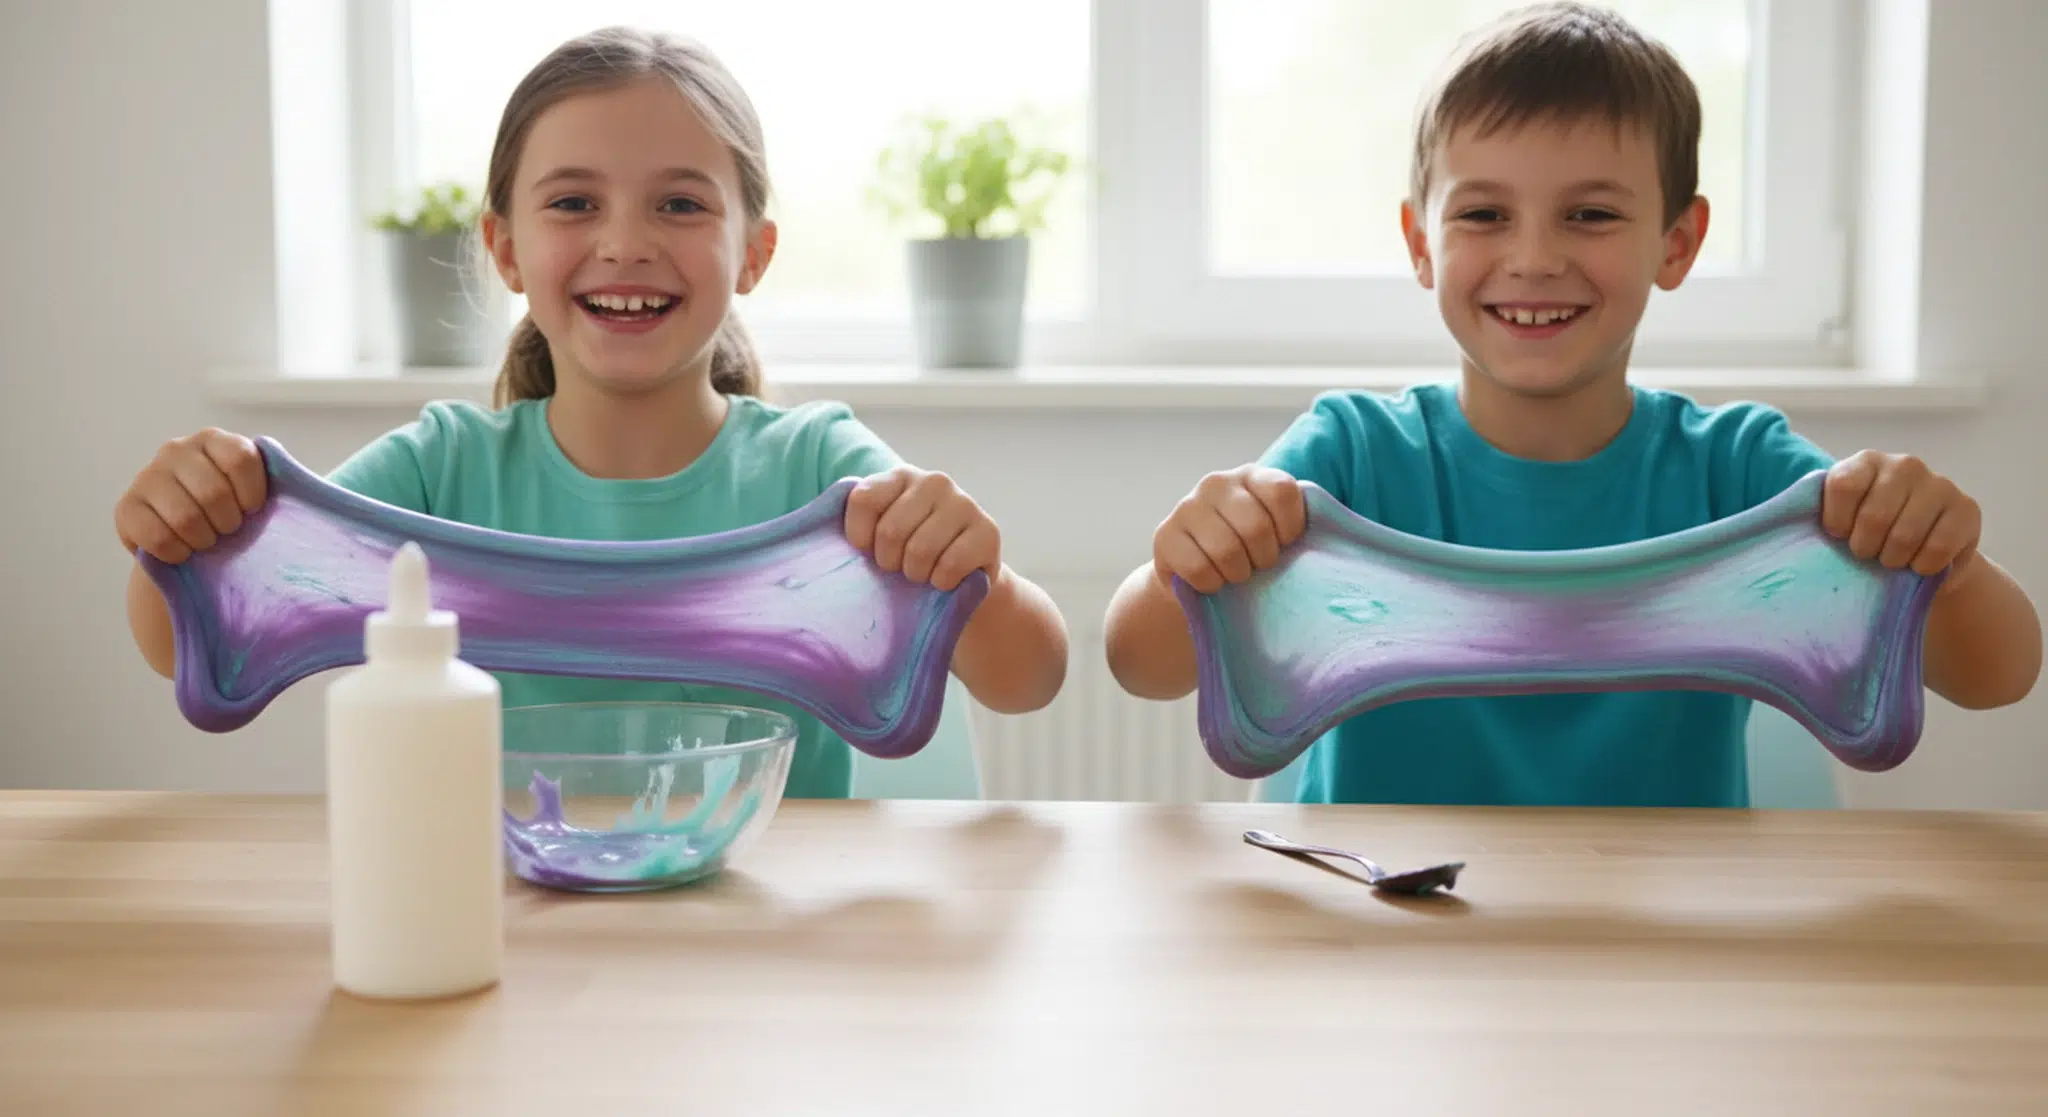


Homemade slime takes about five minutes, a bottle of school glue, and an activator, and it turns any afternoon into a hands-on chemistry lesson.
Few activities hold kids’ attention like homemade slime. It is stretchy, squishy, colorful, and a little bit gross, which is exactly why they love it. It is also real science: the same polymer chemistry used to make plastics and rubber.
This guide gives you four reliable homemade slime recipes (contact solution, borax, fluffy, and clear), borax-free options for younger kids, the safety rules every parent should know, troubleshooting fixes, and tips for storing slime and cleaning it out of clothes and hair.
Key Takeaways
- Glue slime needs PVA school glue plus a borate activator: borax solution, contact lens solution with boric acid and sodium borate, or liquid starch.
- Contact lens solution slime is the easiest and most forgiving recipe for beginners.
- Adults should handle activators. Slime is best for ages 5 and up with supervision.
- Younger kids can play with borax-free oobleck or cornstarch dough instead.
- Store slime in an airtight container; remove it from fabric with white vinegar.
Table of Contents
How Does Homemade Slime Work?
Slime is a fun bit of kitchen chemistry. White or clear school glue contains a polymer called polyvinyl acetate (PVA), made of long, stringy molecules. On their own, those strands slide past each other, so glue pours. Add an “activator” that contains borate ions (from borax, boric acid, or sodium borate) and the borate links the strands together, a process called cross-linking. The result is a stretchy, squishy material that acts a little like a liquid and a little like a solid.
That is why almost every glue slime recipe uses one of three activators: a borax solution, contact lens saline that lists boric acid and sodium borate, or liquid laundry starch that contains sodium borate. They all do the same job; they just deliver different amounts of borate.
Slime Safety First
Slime is a great activity for school-age kids, but it is not a toy for babies or toddlers, and borax needs respect. Poison Control notes that borates can irritate the skin and eyes, and there have been reports of skin burns and blisters in children who handled concentrated borax or large amounts of activator. Follow these rules every time:
- Adults handle the activator: measure and mix borax or other activators yourself, and add them to the glue a little at a time.
- Never use undiluted borax powder on skin: always dissolve it in water first, and use only the small amount the recipe calls for.
- Best for ages 5 and up with supervision: younger children, and any child who still puts things in their mouth, should stick to the borax-free options below.
- Wash hands before and after: and skip slime if your child has eczema, cuts, or sensitive skin on their hands.
- Slime is not food: even “taste-safe” recipes are not meant to be eaten. Keep slime away from babies and pets.
- Store activators safely: keep borax, contact solution, and laundry starch up high, in their original containers, out of reach.
If a child swallows borax or activator, or gets it in their eyes, call Poison Control at 1-800-222-1222 right away.
Recipe 1: Classic Contact Lens Solution Slime (Easiest)
Makes: one fist-sized ball of stretchy slime
You’ll need:
- 1/2 cup (4 oz) white or clear PVA school glue
- 1/2 teaspoon baking soda
- 1 to 1 1/2 tablespoons contact lens saline solution that lists boric acid and sodium borate on the label
- Food coloring or washable paint, and glitter (optional)
Steps:
- Pour the glue into a bowl and stir in the baking soda until smooth.
- Add a few drops of food coloring and any glitter, and mix well.
- Add 1 tablespoon of contact solution and stir. The slime will start pulling away from the sides of the bowl.
- Knead with clean hands for 2 to 3 minutes. If it is still sticky, add a few more drops of contact solution and knead again.
Tip: Sticky slime usually just needs more kneading, not more activator. Add activator a few drops at a time, since too much makes slime stiff and rubbery.
Recipe 2: Classic Borax Slime
Makes: one large batch
You’ll need:
- 1 teaspoon borax powder
- 1 cup warm water (for the activator)
- 1/2 cup white or clear PVA glue
- 1/2 cup water (to mix with the glue)
- Food coloring (optional)
Steps:
- Adult step: dissolve 1 teaspoon of borax in 1 cup of warm water in a cup, and stir until clear. Let it cool.
- In a separate bowl, mix the glue with 1/2 cup of water and any food coloring.
- Slowly add the borax solution, about a tablespoon at a time, stirring as you go.
- Once it clumps together, lift it out and knead until smooth. You will not need all of the borax solution. Discard the leftover solution once you are done.
Tip: Use this recipe with older kids and a grown-up in charge of the borax. Never add borax powder directly to slime.
Recipe 3: Fluffy Slime
Makes: a big, airy, cloud-like batch
You’ll need:
- 1/2 cup white PVA glue
- 1 to 2 cups plain white foam shaving cream (not gel)
- 1/2 teaspoon baking soda
- 1 tablespoon contact lens solution with boric acid and sodium borate
- Food coloring (optional)
Steps:
- Mix the glue and baking soda in a large bowl.
- Fold in the shaving cream and any coloring until fluffy.
- Add the contact solution and stir until it forms a ball.
- Knead for a few minutes until it is soft and puffy.
Tip: Fluffy slime deflates over a day or two as the air escapes. That is normal. Kids love making a fresh batch.
Recipe 4: Clear “Glass” Slime
Makes: one batch of see-through slime
You’ll need:
- 1/2 cup clear PVA glue
- 1/4 cup warm water
- 1/2 teaspoon baking soda
- 1 tablespoon contact lens solution with boric acid and sodium borate
Steps:
- Stir the clear glue and warm water together slowly to avoid bubbles.
- Add baking soda and mix gently.
- Add contact solution and stir until it forms slime.
- Knead gently, then store in a closed container for 2 to 3 days. The bubbles rise and disappear and the slime turns crystal clear.
Tip: Stir slowly the whole time. Fast mixing adds air bubbles that make it cloudy.
Big days go better with a good night of sleep.
Got a little one at home too? Our free two-minute quiz builds a gentle, personalized sleep plan for babies and toddlers.
Borax-Free Slime Options for Younger Kids
For preschoolers, kids with sensitive skin, or anyone who might put fingers in their mouth, these no-borate recipes give the same squishy fun:
- Oobleck (cornstarch goo): mix 1 cup of cornstarch with about 1/2 cup of water. It is hard when you squeeze it and drips like liquid when you let go. It is a classic science lesson in non-Newtonian fluids.
- Two-ingredient soap dough: mix about 1/2 cup of cornstarch with 1/4 cup of hair conditioner or thick dish soap, knead, and add more cornstarch until it is soft and pliable.
- Fiber slime: an adult whisks 1 tablespoon of psyllium fiber powder into 1 cup of water, microwaves in short bursts until it thickens, and lets it cool completely before kids play. It is stretchy and made from food ingredients, but it is still not for eating.
Even with borax-free recipes, supervise closely with toddlers. Our guide to sensory activities for toddlers has more mess-friendly ideas for little ones.
Troubleshooting Homemade Slime
| Problem | Fix |
|---|---|
| Too sticky | Knead longer first. If still sticky, add activator a few drops at a time. |
| Too stiff or rubbery | You added too much activator. Knead in a little warm water or a small squirt of lotion. |
| Will not come together | Check that your glue is PVA school glue and your contact solution contains boric acid and sodium borate. |
| Watery puddle forming | Too much water in the glue mix. Add a little more glue and a few drops of activator. |
| Getting hard after a few days | Slime dries out in the air. Store it in an airtight container and knead in a drop of warm water. |
How to Store Slime and Clean Up
- Storage: keep slime in an airtight container or zip-top bag at room temperature. Most homemade slime lasts about a week or two. Toss it if it smells, grows mold, or gets dirty.
- Slime on clothes: scrape off what you can, soak the spot in white vinegar for a few minutes, scrub gently, then launder as usual.
- Slime in hair: work in a little conditioner or cooking oil, comb it out, then shampoo.
- Slime on carpet: scrape, dab with white vinegar, blot, and rinse with warm water.
Turn Slime Into a Science Lesson
Slime is a perfect gateway to real science. Try these experiments with older kids:
- Compare white glue and clear glue slimes. Which stretches farther before breaking?
- Test how much activator makes the stretchiest slime. Keep everything else the same and record the results.
- Pull slime slowly, then fast. Why does it stretch one way and snap the other?
- Chill one batch in the fridge and leave one out. How does temperature change it?
For more hands-on ideas, try our science experiments for kids and Halloween STEM activities.
Related Betteroo Guides
- Science experiments for kids
- Halloween STEM activities
- Indoor activities for kids
- Rainy day activities for kids
- Sensory activities for toddlers
A Note for Parents
Slime-making is a wonderful rainy-day project that mixes creativity, sensory play, and chemistry. Keep it an adult-supervised activity, choose recipes that match your child’s age, and keep activators locked away. If your child develops redness, itching, or blistering on their hands after playing with slime, wash with soap and water and call your pediatrician. For swallowing or eye exposure, call Poison Control at 1-800-222-1222.
Frequently Asked Questions
How do you make homemade slime?
Mix 1/2 cup of PVA school glue with 1/2 teaspoon of baking soda, add food coloring, then stir in about 1 tablespoon of contact lens solution that contains boric acid and sodium borate. Knead for a few minutes until it is smooth and stretchy.
How do you make slime without borax?
Contact lens solution slime uses a much smaller amount of borate than borax slime. For completely borate-free options, make oobleck with cornstarch and water, soap dough with cornstarch and conditioner, or fiber slime from psyllium powder and water.
Is homemade slime safe for kids?
Homemade slime is generally safe for school-age kids when an adult handles the activator, the recipe is followed carefully, and kids wash their hands afterward. It is not safe for babies or toddlers who put things in their mouths.
Why is my slime so sticky?
Sticky slime usually needs more kneading. If it is still sticky after a few minutes, add a few drops of activator at a time. Adding too much at once makes slime stiff and rubbery.
How long does homemade slime last?
Homemade slime usually lasts about one to two weeks when stored in an airtight container. Throw it away if it dries out, smells, or looks moldy or dirty.
Gentle changes, peaceful nights.
Betteroo builds a personalized sleep plan for your baby or toddler. Take the free two-minute quiz to get started.
4 Sources
- Poison Control (National Capital Poison Center). Borates, Borax, and Boric Acid: Are They Safe?
https://www.poison.org/articles/borates - American Chemical Society. Science for Kids.
https://www.acs.org/education/outreach/kidschemistry.html - Science Buddies. STEM Activities for Kids.
https://www.sciencebuddies.org/stem-activities - American Academy of Pediatrics, HealthyChildren.org. Choking Prevention for Babies and Children.
https://www.healthychildren.org/English/health-issues/injuries-emergencies/Pages/Choking-Prevention.aspx