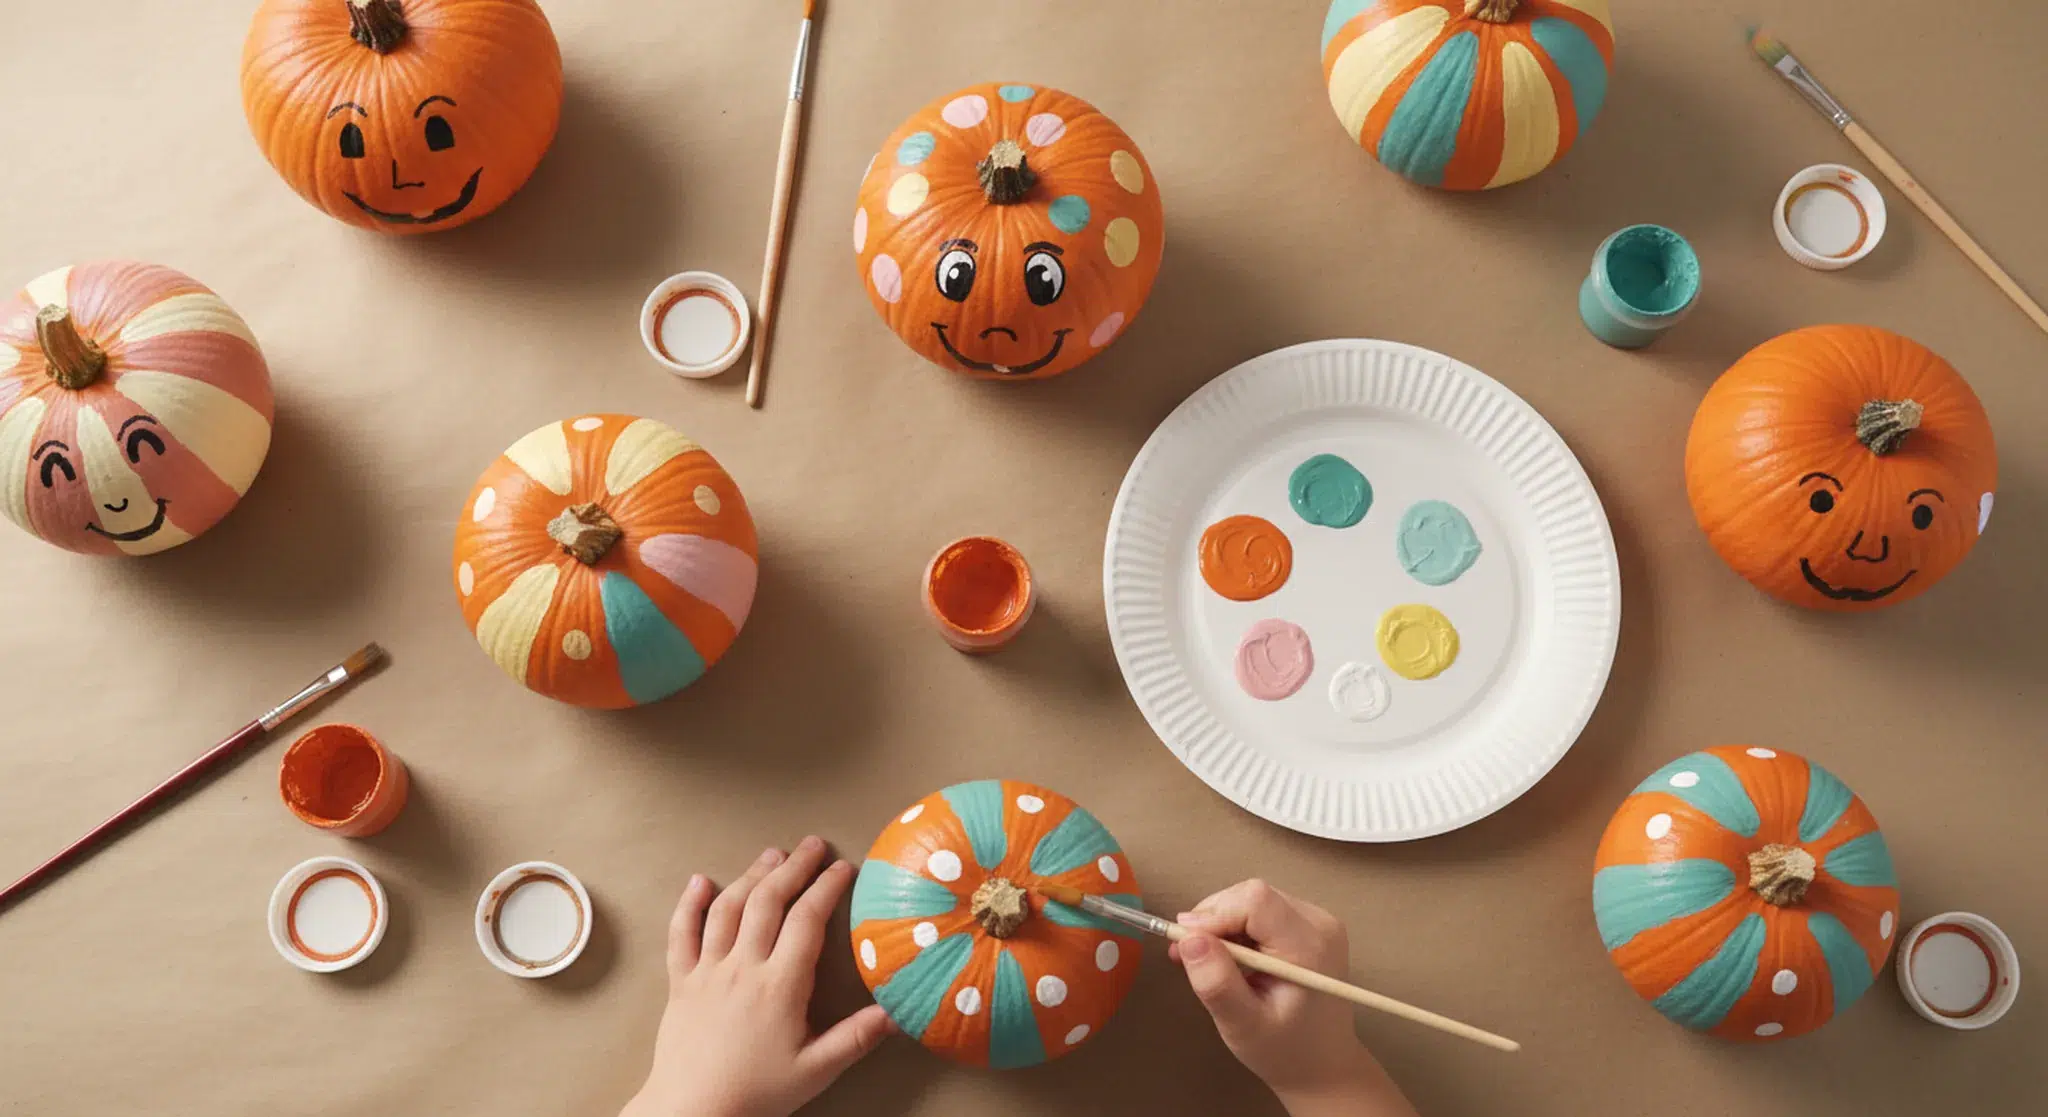
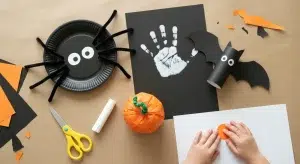
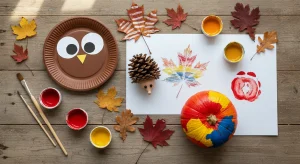
The best pumpkin painting ideas are the simple ones: polka dots, stripes, friendly faces, handprints and solid colors that a child can finish in one sitting, with no carving knife in sight.
Painted pumpkins are the no-sharp-tools answer to the jack-o’-lantern. A toddler can do it with a sponge, a ten year old can paint a galaxy, and you can do a few in soft colors for the porch.
Here are 75 pumpkin painting ideas grouped by age and style, then the best paint for pumpkins, how to paint a pumpkin step by step, and how long painted pumpkins last.
Key Takeaways
Dots, stripes, solid colors and simple faces are the easiest designs.
Use washable paint for toddlers and preschoolers, and acrylic craft paint when you want color to last.
Wash and dry the pumpkin, then paint thin coats.
Painted pumpkins last much longer than carved ones. Keep them out of direct sun, rain and frost.
Look for ASTM D-4236 and the ACMI AP seal on the label, and keep googly eyes and beads away from babies and toddlers.
As an Amazon Associate, Betteroo earns from qualifying purchases.
Table of Contents
Pumpkin Painting Ideas at a Glance
Quick Answer
The easiest pumpkin painting ideas are polka dots, stripes, one solid color, a painted jack-o’-lantern face, handprints and sponge dots. Use washable paint for toddlers and acrylic craft paint for designs you want to last. With no cuts in the skin, a painted pumpkin outlasts a carved one.
Group
Ideas
Best for
Easy designs
8
Beginners
Patterns
8
Tape lovers
Toddlers and preschoolers
8
Ages 1 to 5
Kids
8
School age
Cute faces and animals
9
All ages
Spooky but friendly
7
Halloween fans
Characters
7
School projects
Elegant fall decor
7
Grown-ups
Mini pumpkins
7
Small hands
Group and classroom
6
Parties, classrooms
All 75 painted pumpkin ideas by group.
Easy Pumpkin Painting Ideas for Beginners
Each of these easy pumpkin painting ideas takes about 15 minutes, plus drying time.
Polka dots: dot the whole pumpkin with a round sponge brush or a cotton swab.
One bold color: paint it all teal, pink, black or white and leave the stem natural.
Painted jack-o’-lantern: black triangle eyes and a zigzag smile, painted instead of cut.
Half and half: tape around the middle, paint the bottom half, peel when dry.
Fancy stem: paint only the stem gold, copper or bright pink.
Paint pen doodles: stars, hearts and swirls drawn straight onto the orange skin.
Splatter: flick a loaded brush at the pumpkin outdoors or inside a big box.
Candy corn: three wide bands: white on top, orange, then yellow.
Patterns. Painter’s tape does the hard part.
Stripes: follow the natural ribs and paint every other section.
Ombre: blend one color from dark at the base to pale near the stem.
Drip: pour slightly thinned paint around the stem and let it run down.
Plaid: cross wide stripes of two colors, then add thin lines on top.
Zigzag: mask a chevron with painter’s tape and paint between the lines.
Color block: three or four big patches of flat color.
Confetti: dots clustered near the stem that thin out toward the bottom.
Rainbow ribs: a different color for each rib, in rainbow order.
Painted Pumpkins for Toddlers, Preschoolers and Kids
For the smallest painters, the process matters more than the result. Use washable paint and old clothes. Cool skin, bumpy ribs and squishy paint make this a lovely sensory activity. Find more in our sensory activities for toddlers and toddler activities guides.
Water painting: for the very youngest: a chunky brush and plain water. Nothing stains.
Handprint keepsake: paint a palm, press it on, and write the year underneath.
Fingerprint dots: one fingertip, one color.
Sponge dots: clip a piece of sponge in a clothespin for an easy stamper.
Sticker resist: stick on shapes, paint over everything, then an adult peels them off.
Free paint: two colors, one big brush and no plan.
Roll a mini: roll a mini pumpkin through a tray of paint.
Dauber dots: washable dot markers, less drippy than paint pots.
Pumpkin painting ideas for kids. School-age children can plan a design and wait for a base coat to dry.
Galaxy: sponge on dark blue, purple and black, then speckle white stars.
Emoji faces: a yellow base plus heart eyes, a wink or a grin.
Rainbow: arcs across the front or bands all the way around.
Donut: wavy “icing” over the top third with sprinkle dashes.
Sports ball: basketball lines, soccer patches or baseball stitches.
Chalkboard pumpkin: coat it in chalkboard paint and chalk on a new face each day.
Self portrait: hair, glasses, freckles and all.
Pixel blocks: a face built from small painted squares, video game style.
Big days go better with a good night of sleep.
Got a little one at home too? Our free two-minute quiz builds a gentle, personalized sleep plan for babies and toddlers.
Kraft paper for the table, old clothes and damp cloths
Optional: clear craft sealer
How to Paint a Pumpkin Step by Step
1. Pick a good pumpkin: NC State Extension advises feeling for soft spots, because those pumpkins rot much quicker, and checking that plenty of stem is attached. Do not carry it by the stem.
2. Wash and dry it: wipe off dirt with a damp cloth and dry it completely. For decoration-only pumpkins, NC State Extension describes washing with a 10 percent bleach solution (9 parts water to 1 part chlorine bleach), an adult job done away from children. Skip the bleach wash if a baby or toddler who still mouths things will handle the pumpkin: a damp cloth is enough.
3. Cover up: paper on the table, old clothes on the painter.
4. Prime if you like: a coat of white paint or craft primer helps light colors show on orange skin.
5. Paint thin coats: two thin coats cover better than one thick one. Let each dry.
6. Add details last: faces, dots and outlines go on a dry base.
7. Seal if you like: a clear craft sealer can help paint handle damp weather. Adults apply spray sealers, outdoors.
Real or craft pumpkins? A real pumpkin is fun to choose. A foam or plastic craft pumpkin never rots, so it suits a keepsake such as a first handprint.
How Long Do Painted Pumpkins Last?
Longer than carved ones. According to NC State Extension, a carved pumpkin should last about 8 to 11 days, a properly cured and stored whole pumpkin can last up to 3 months, and one decorated with paint or markers lasts much longer than a carved one. (In 2026, Halloween falls on Saturday, October 31.)
No source we read gives an exact number of weeks for a painted pumpkin. To help yours last:
Keep it in a protected spot away from direct sun, rain and frost, as NC State Extension recommends.
Check the base every few days. Once it turns soft or leaks, it is done.
Cleanup, Stains and What to Do With a Painted Pumpkin Afterwards
Wipe wet paint off skin, tables and floors right away, and rinse brushes before they dry. Rinse clothes while the spot is wet and follow the paint label. Dried acrylic often stays.
When the pumpkin is finished:
Composting: University of Illinois Extension says pumpkins add good organic matter to compost and break down faster when smashed, and it tells people to remove decorations, paint and other non-compostable materials first. That means cutting away the painted skin. If you cannot, use the trash.
Animals: do not leave a painted pumpkin out for wildlife. Illinois Extension notes that the Illinois Department of Natural Resources does not recommend feeding pumpkins to wildlife, and that gourds washed with bleach are toxic and should not go to farm animals.
Eating: treat a painted pumpkin as decoration, not food.
Keeping Bedtime on Track After Pumpkin Painting
A messy, exciting craft late in the day can push bedtime back. For Halloween itself, the American Academy of Pediatrics (AAP) points out that earlier festivities help you stick to your child’s regular bedtime. So paint in the morning or after nap, not after dinner.
Let the bath do double duty: it washes off the paint and starts the toddler bedtime routine. The pumpkin stays out of the bedroom, and nothing goes in a baby’s crib. Babies under 12 months sleep alone, on their back, on a firm, flat, bare surface.
The AAP advises letting small children decorate, not carve, pumpkins: they can draw a face with markers while an adult handles any cutting. For the night itself, see our Halloween safety tips.
Read the paint label: the AAP recommends art supplies that state they conform to ASTM D-4236, meaning a toxicologist has evaluated the product, and that carry the Approved Product (AP) seal from the Art and Creative Materials Institute (ACMI). The U.S. Consumer Product Safety Commission explains that this conformance statement follows a toxicologist’s review for long-term (chronic) health hazards. It is not a promise of harmlessness, so check for warnings too.
What the AP seal means: ACMI says AP products contain no materials in sufficient quantities to be toxic or injurious to humans, including children. Its CL (Cautionary Labeling) seal marks products with health warnings, which should never be given to a child in sixth grade or younger.
Skip caution labels: the AAP says to avoid products marked Warning, Caution or Danger, to prefer water-based supplies, and to avoid solvents. No label can guarantee complete safety.
Paint is not food: supervise, stop brush licking, and have children wash their hands with soap and water afterwards, as the AAP advises. If you think a child has swallowed an art product, ACMI recommends calling Poison Control at 1-800-222-1222, even for AP products.
Small parts are choking hazards: the AAP says babies and toddlers are at the highest risk of choking and lists toys with small parts, marker caps and balloons among the dangers. Its Halloween advice adds stickers and pumpkin seeds. Treat googly eyes, beads and pom poms the same way: keep them away from children who still mouth things.
Adult jobs: craft knives, hot glue, spray paint and spray sealer.
What are some easy pumpkin painting ideas for kids?
Polka dots made with a sponge brush or cotton swab, stripes that follow the pumpkin’s ribs, one bold color, a painted jack-o’-lantern face, handprints and sticker resist shapes are the easiest. Each needs two or three colors and about 15 minutes of painting.
What kind of paint do you use on pumpkins?
Acrylic craft paint gives the boldest, longest lasting color and suits older kids and adults. Washable tempera is the better pick for toddlers and classrooms, though it can flake or run if it gets wet. Paint pens add details. Spray paint is an adult job.
Do you need to prime or seal a pumpkin before painting?
No. Paint goes straight onto a clean, dry pumpkin. A coat of white paint or craft primer can help pale colors show up on orange skin, and a clear craft sealer over the dry design can help it handle damp weather. Both are optional.
How long do painted pumpkins last?
Longer than carved ones, because the skin is not cut. NC State Extension says a carved pumpkin lasts about 8 to 11 days, a properly cured and stored whole pumpkin can last up to 3 months, and painted pumpkins last much longer than carved ones.
Is it safe for toddlers to paint pumpkins?
Yes, with supervision. The American Academy of Pediatrics advises that small children decorate pumpkins instead of carving them. Choose water-based, washable paint labeled as conforming to ASTM D-4236 with the ACMI AP seal, wash hands afterwards, and keep small parts out of reach.
Can you compost a painted pumpkin?
Only after the paint is removed. University of Illinois Extension tells people to take off decorations, paint and other non-compostable materials before composting pumpkins, then smash them so they break down faster. If you cannot cut away the painted skin, use the trash.
Gentle changes, peaceful nights.
Betteroo builds a personalized sleep plan for your baby or toddler. Take the free two-minute quiz to get started.